Back to Virtualizor
You can easily edit the self-shutdown timer in Virtualizor. Please, follow the steps below to edit the self-shutdown timer.
1. Log in to your Virtualizor Control Panel.
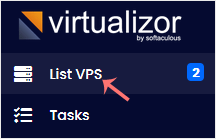
2. From the left side panel, click on List VPS.
3. Hover your mouse on the appropriate VPS, and that line will be highlighted. Then click on the Manage icon in the highlighted line.

4. Click on the Self Shut Down.
![]()
5. If you have multiple timers, hover your mouse on the appropriate one, and that line will be highlighted. Then, click on Edit in the highlighted line.
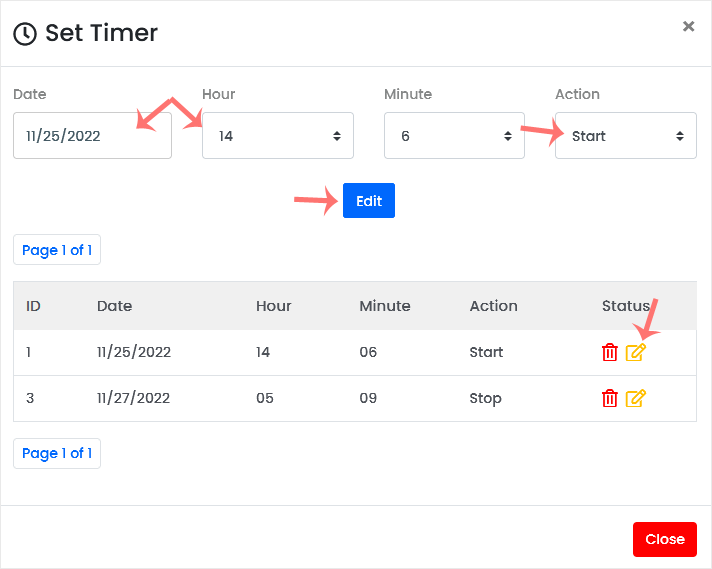
6. Make changes as per your needs and then click on Edit.